
Getting started
In this section, you will learn how to get started with the Oneflow public API.
Step 1. Create a Oneflow account
Start your work by creating a Oneflow account.
Note:If you're new to Oneflow, go to the Oneflow application and create a trial account.
Step 2. Generate an API token
Once you’ve created an account, you’ll need an API token:
-
Log in to Oneflow.
-
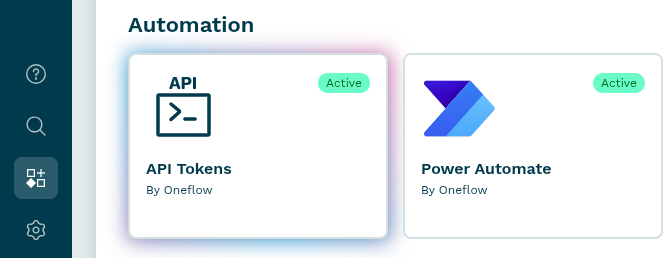
Go to the Marketplace and click on API tokens. This should already be enabled if your plan supports it.
-
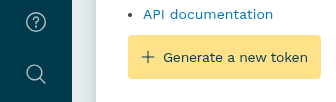
Click on + Generate a new token
-
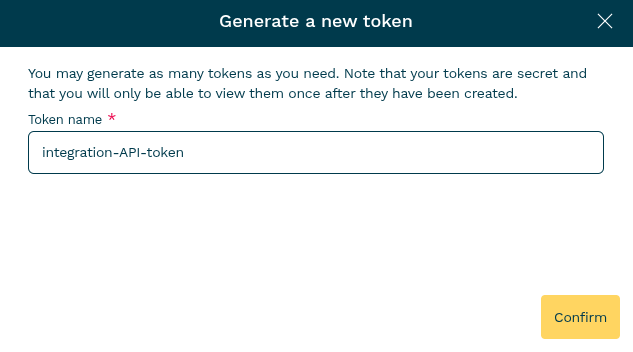
Enter a name for the API token and click Confirm.
-
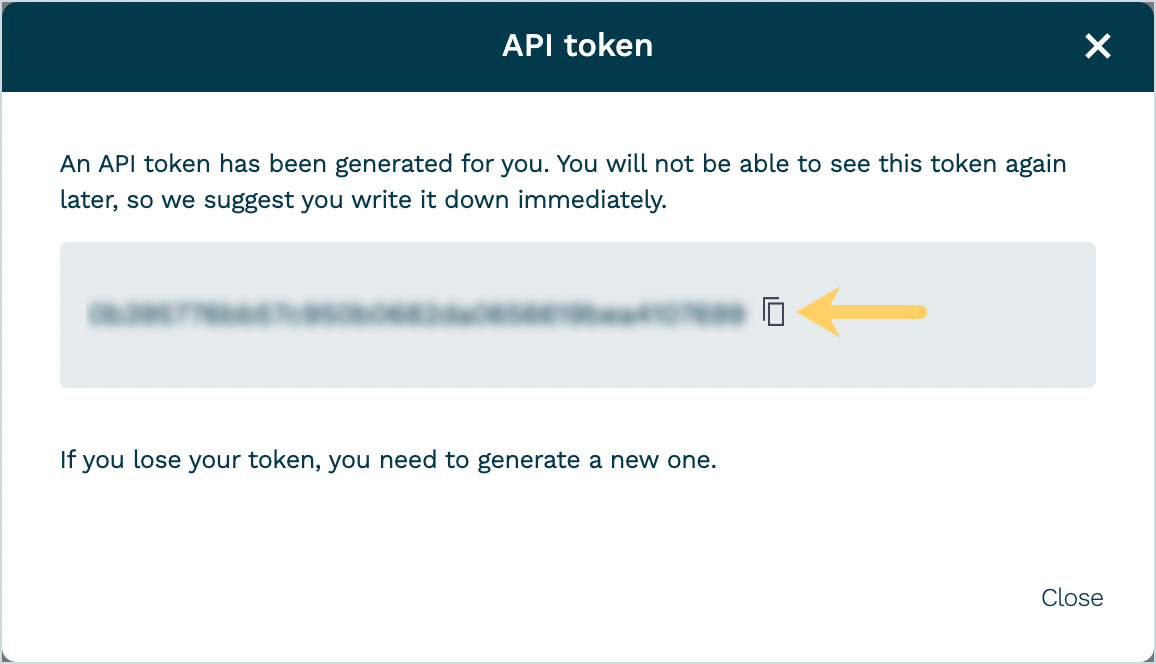
Copy and store the API token in a secure location for future use.
Note:The token is shown only once.
Step 3. Make the Oneflow API ping request
Now check your connection and authentication via the ping request below.
Please replace the API_TOKEN with the API access token you generated in step 2
curl -X GET 'https://api.oneflow.com/v1/ping' \
-H 'x-oneflow-api-token: API_TOKEN'
import requests
headers = {
'x-oneflow-api-token': 'API_TOKEN',
}
response = requests.get('https://api.oneflow.com/v1/ping', headers=headers)Step 4. Evaluate response
If everything goes well, you should get an HTTP response with an empty JSON object ({}) in the response body.
| Status | Meaning | Description |
|---|---|---|
| 200 | OK | The service is up, and the API token is valid. |
| 401 | Unauthorized | The API token is invalid. |
Next steps
Now you are ready to start building your automation workflow!
It may be good to start with getting a single contract from Oneflow. Please proceed to the Tutorials section to read our how-to articles.
Otherwise, please read the Authentication and authorization section and look at the list of available endpoints in the API Reference documentation.
Updated 5 months ago